 English
How to inspect a Copart or IAAI car from its photos
How to inspect a Copart car from its photos: panel gaps, paint, glass, warning lights, odometer, flood signs, engine bay and keys, plus what photos never show.
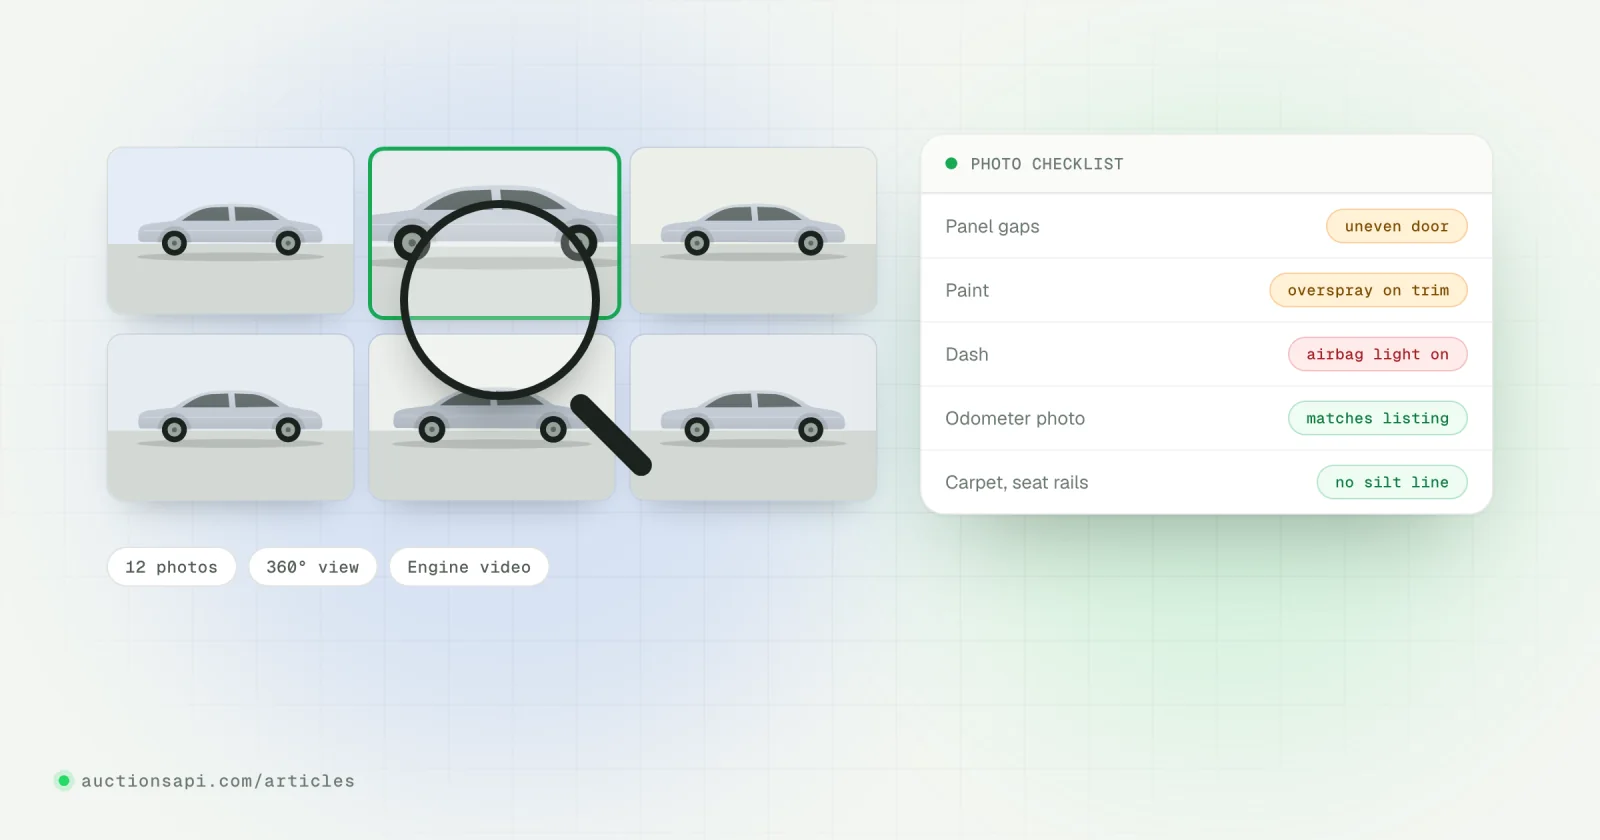
To inspect a Copart car (or an IAAI one) from its photos, write down what the listing claims (damage, start code, airbags, keys, odometer, title), then go through every photo at full size in a fixed order: panel gaps and reflections, paint and overspray, glass, the dashboard with its warning lights and odometer, the interior for water and airbags, the engine bay, the tyres and whatever you can see underneath, and the keys. Anything that does not match the listing is a question you answer before the sale, not after.
Photos are good at showing the outside of a car on one day. They are poor at showing structure, electronics, engine internals and smell, and some of the most expensive problems live exactly there. For a lot that matters, an independent inspection at the yard and a look at the VIN's earlier lots fill most of the gap.
This is the checklist we would use, with what each detail can mean and where photos stop being useful.
Key takeaways
- Start from the listing's claims and use the photos to confirm or contradict each one.
- Reflections, gaps and glass markings reveal earlier repairs that a damage label never mentions.
- The dashboard photo is the most informative single picture: odometer, units, warning lights and whether the car had power.
- Waterlines, silt, fogged lamps and corrosion on seat rails point to water even when the label does not.
- Photos cannot show structure, wiring or smell, so pay for an inspection when the lot is expensive or the photos leave doubt.
Before the photos: the claims you are checking
A lot page makes a handful of claims about the car. Write them down first, because the photos are only useful as evidence for or against something specific:
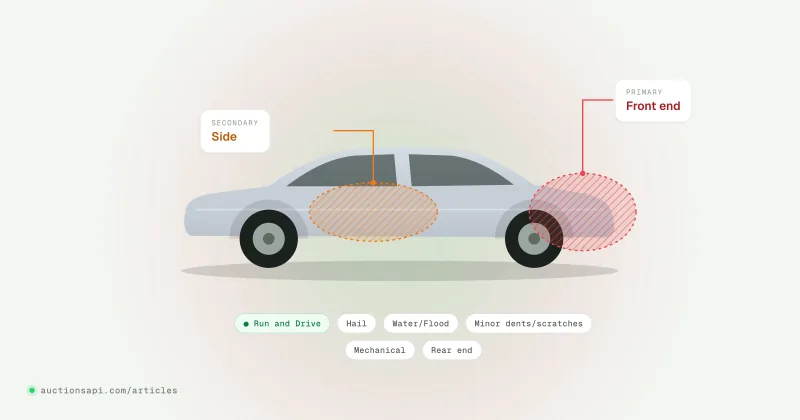
- Primary and secondary damage, and what each label usually covers (see Copart damage types).
- The start code or condition: run and drive, starts, stationary, not checked.
- Airbag status, where the auction records it, and whether keys are present.
- Odometer reading and its status: actual, not actual, exempt or exceeds mechanical limits.
- Title type and state, and the seller type (insurer, rental, dealer, finance company).
- Highlights and notes: missing parts, "biohazard", "stripped", engine or transmission comments.
A run-and-drive rental car with normal wear and a clean title calls for a different inspection from an insurance total with front-end damage. In the first case you are looking for what the label does not say; in the second, for how far the damage goes.
How to inspect a Copart car from its photos: the technique
Most buyers scroll through the gallery once at thumbnail size. That is how cars get bought with a pushed-in pillar. A few habits make the same photos tell you much more:
- Open every photo at full size and zoom in on edges, seams and corners. Detail lives at the panel joins, not in the middle of a door.
- Follow reflections. A straight line (a building edge, a light tube, the horizon) reflected along the side of the car should stay straight from fender to door to quarter panel. A kink or ripple means a dent or a panel that was filled and repainted.
- Compare left with right. Gaps, headlight height, wheel angle and door alignment should mirror each other. One side is your reference for the other.
- Count the angles. If every corner is photographed except the damaged one, or there is no interior shot on a flood-adjacent lot, treat the missing picture as a finding.
- Mind the weather. A wet car hides paint flaws and swirl marks; bright sun hides warning lights. Note what the conditions could be covering.
- Use the 360-degree view where the lot has one. It shows the interior from angles the still photos skip, such as the roof lining, the rear footwells and the back of the seats.
Exterior: gaps, paint and glass
Panel gaps and alignment
Look at the gap between the hood and each fender, between the doors, and around the trunk or tailgate. A gap that is wide at one end and tight at the other means the panel or what it hangs on has moved. On a front-end lot, a hood that sits high at the rear edge or doors that no longer line up with the fender suggest the impact went past the bumper into the structure.
Paint, overspray and earlier repairs
Signs of an earlier repaint: a slight colour difference between adjacent panels, an orange-peel texture on one panel only, paint on rubber seals, trim or window edges (overspray), masking lines in door jambs, and dust specks in the clear coat. A repaint is not a crime, but on an auction car it is history that the current label does not record. Compare it with the VIN's earlier lots.
Glass markings
Every piece of car glass carries a small printed mark with the maker's logo and usually a date code. Zoom in on them. When the windshield or one side window carries a different maker or a much later date than the rest, that glass was replaced, which can be a stone chip or can be the trace of a previous accident or break-in. A replaced windshield also matters for cars with a camera behind it, which needs calibrating.
Lights, wheels and tyres
A brand-new headlight on an otherwise aged car is a repair you did not know about. Fogged lamps on a car without front damage can be moisture from a flood. On the wheels, look at the angle: a wheel leaning in at the top or pushed back in the arch after a kerb or side hit points to bent suspension or a moved subframe. Mismatched tyre brands, very uneven wear and heavily rusted brake discs (a car that stood for a long time) are worth noting too.
Dashboard, airbags and interior
The dashboard photo
If you study one picture, study this one. A lit cluster tells you the car had power when photographed. Read the odometer and compare it with the listing, including the unit: a Canadian car reads in kilometres, and a number that matches the listing in the wrong unit is a different mileage. Then read the warning lights. An airbag light suggests a fault or a fired component; a check-engine light, an oil pressure or a battery symbol each tell their own story. A cluster that is dark when the car is listed as running is a question to ask.
If the reading on the dash is lower than one recorded in an earlier sale, or the status is "not actual", read our guide to odometer brands before you trust the miles.
Airbags and belts
Look at the steering wheel centre, the passenger side of the dashboard (a split seam or a missing panel), the roof lining above the doors (a hanging curtain airbag), and the outer side of the front seats. A seat belt that stays pulled out and locked can mean its pretensioner fired. Deployed restraint parts are a cost of their own, separate from the bodywork.
Water signs
Flood damage is not always labelled as flood. Look for a horizontal tide line on door cards or seats, silt or dried mud in seat rails, under the pedals and in the spare wheel well, rust on seat bolts and seat frames that should be bare metal, carpets pulled out or visibly stained, and condensation inside the cluster or the lamps. NHTSA's page on flood-damaged vehicles lists the same signs for buyers in person: musty smell, mud in hidden places, unusual corrosion.
Smell clues you can see
Photos cannot smell, but they can show what people do about smells: several air fresheners, windows left open in every shot, removed carpets, a cabin that was obviously shampooed while the rest of the car is dirty, or a "biohazard" note on the listing. Each is a reason to ask an inspector to open the doors and report back.
Engine bay, underside and keys
Engine bay photos are often taken from one angle with the hood half open, but they still show a lot. Look for fluid levels in the visible reservoirs, oil or coolant sprayed across the bay, a milky residue under the oil filler cap (coolant in the oil), debris or a waterline in the airbox, a missing battery, cut wiring, and fresh paint or weld marks on the inner fenders and the panel behind the radiator. Some lots include a short engine video; listen for knocking and watch for smoke.
The underside is rarely photographed directly. Use what you have: low-angle photos under the bumpers, the ground under the car (a puddle of fluid), the sills from the side, the exhaust and anything hanging below the body. On electric and hybrid cars, any sign of an underbody hit near the battery pack changes the whole assessment.
Finally the keys. If the listing says keys are present, many lots show them in a photo. Check that it is the right kind (a smart key for a car with push-button start) and that there is at least one. A missing smart key on a modern car means programming, not a cheap copy.
What to look at and what it can mean
| What you see in the photos | What it can mean |
|---|---|
| Gap wide at one end, tight at the other | A panel or its mounting moved; possible structural damage |
| Kinked or rippled reflection along a side | A dent, or a panel that was filled and repainted |
| Paint on seals, trim or glass edges | Overspray from an earlier repaint |
| One window or windshield with a different glass mark or date | Replaced glass: a chip, a break-in or an earlier accident |
| New headlight on an old car | An earlier front-end repair |
| Fogged lamps or a fogged instrument cluster | Moisture, possibly flood |
| Tide line on door cards, silt in seat rails | Water inside the car |
| Rust on seat bolts and frames | Water, or long storage in damp conditions |
| Airbag light lit on the dashboard | An airbag fault or a fired component |
| Odometer in km on a US listing, or lower than an earlier sale | A Canadian car or a units error; a possible rollback |
| Dark cluster on a car listed as running | No power at the time of the photo; the start code may be stale |
| Milky residue under the oil cap | Coolant in the oil, possibly a head gasket |
| Wheel leaning in or pushed back in its arch | Bent suspension or a moved subframe |
| Several air fresheners, carpets removed | Someone was fighting a smell: water, smoke or biohazard |
| No photo of the damaged corner or the interior | Missing evidence: ask, or price the worst case |
What auction photos never show
Even a careful photo review leaves blind spots, and the expensive ones are reliably there:
- Whether the structure is straight. Only measurements on a bench answer that.
- Fault codes stored in the control units, and whether the electronics will survive.
- Engine and gearbox internals: compression, noises under load, how the gearbox shifts.
- Whether the car still starts today. Start codes are recorded at check-in; batteries go flat and fluids leak away in the yard.
- Corrosion inside connectors and wiring after water damage.
- The quality of an earlier repair under the paint: filler thickness, welds, missing reinforcements.
- Smell, which is often the quickest tell for water, smoke and mould.
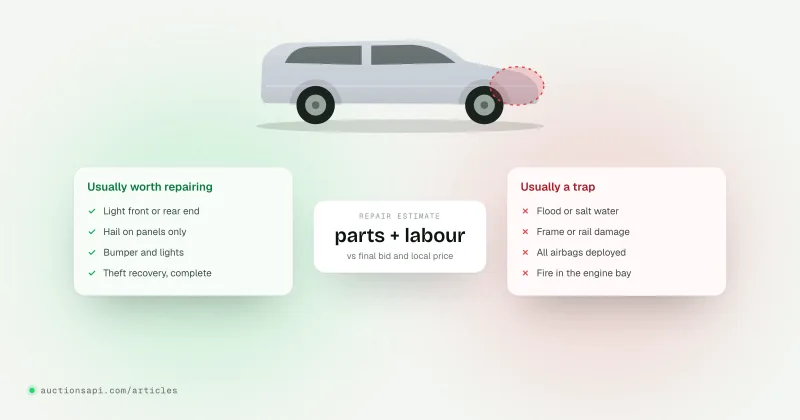
Treat each of these as unknown, not as fine. If the business case only works when all of them turn out well, the lot is too risky to buy on photos alone. We look at the repair side of that decision in which damage is worth repairing.
When to pay for an independent inspection
Copart and IAAI let buyers preview vehicles at many yards, and independent inspection services visit yards for a fee to photograph and test a car for you. Access, timing and what the inspector may do (start the car, connect a scanner) depend on the auction, the yard and the lot, so ask your broker what is possible before you book.
We would pay for one when the lot is expensive relative to your margin, when you are paying a premium for a run-and-drive label, when the photos hint at structural damage or water but do not prove it, and on electric or hybrid cars with any damage near the underbody. Ask the inspector for specific things rather than a general report:
- Paint thickness readings on every panel.
- A diagnostic scan with the stored fault codes.
- A start test, and a short drive in the yard if allowed.
- Photos of the underside, the trunk floor, the seat rails and the areas your photos missed.
- A note on smell and on any moisture under the carpets.
Cross-check the photos with the VIN's earlier lots
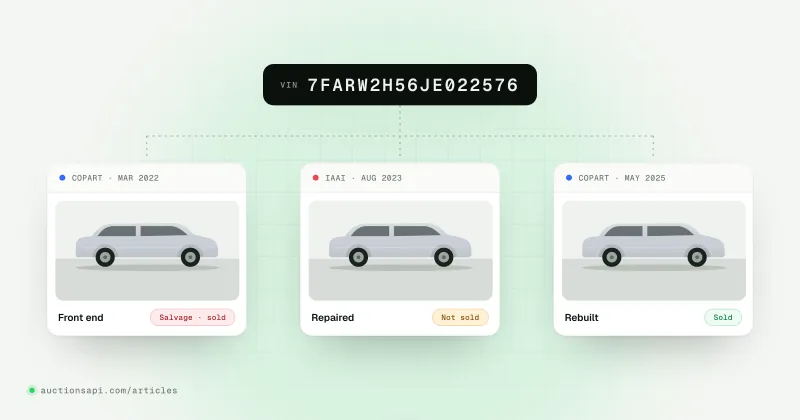
The most honest description of an auction car is often its own past. Many VINs have been through Copart or IAAI before: failed to sell last month with other photos, or sold damaged two years ago and came back repaired. Earlier photos show you the car without the current repaint, earlier odometer readings check the current one, and an earlier damage label tells you what the new paint may be covering. Auction history by VIN walks through reading those lots.
If you check cars one at a time, AuctionsAPI's Pay per VIN returns every Copart and IAAI lot we hold for a VIN, with photos, odometer readings and results. Checking whether a VIN is in the database is free; you pay only when a record is returned.
- 1Read the claimsDamage, start code, airbags, keys, odometer, title, notes.
- 2ExteriorGaps, reflections, paint, glass marks, lights, wheels.
- 3Dashboard and interiorOdometer and units, warning lights, airbags, water signs.
- 4Engine bay and keysFluids, residue, debris, fresh welds, the right key.
- 5HistoryEarlier lots of the VIN: photos, odometer, damage, results.
- 6DecideBuy on photos, book an inspection, or walk away.
Before sale day
Run the checklist on every lot you shortlist and write down each question the photos raise. Answer the cheap ones with the VIN history, the expensive ones with an inspection, and price whatever stays unknown as the worst case. Lots that leave too many open questions are the ones to let go: there will be another car next week.
Questions people ask
How do I inspect a Copart car before buying?
Start with the listing's claims (damage, start code, airbags, keys, odometer, title), then check every photo at full size: panel gaps, reflections, paint, glass marks, the dashboard and its warning lights, water signs in the interior, the engine bay and the tyres. Cross-check the VIN's earlier lots, and for an expensive lot book an independent inspection at the yard.
Can you inspect a car at Copart in person?
Many Copart and IAAI yards allow registered buyers to preview vehicles, and independent inspection services visit yards for a fee to photograph and test cars for remote buyers. What is allowed (starting the car, connecting a scanner, timing) depends on the auction, the yard and the lot, so check with the yard or your broker before sale day.
How can I tell if an auction car was flooded from the photos?
Look for a horizontal tide line on door cards or seats, silt or mud in seat rails and the spare wheel well, rust on seat bolts and frames, removed or stained carpets, and condensation in the lamps or the instrument cluster. Several air fresheners or open windows in every shot are a hint too. The title brand and earlier lots can confirm it.
What does the airbag light in a Copart photo mean?
A lit airbag warning on the dashboard usually means the restraint system has a fault or a component fired: an airbag, a seat belt pretensioner or a sensor. It can also follow a disconnected connector after a repair. Treat it as a cost until an inspection or scan says otherwise, and look for split dashboard seams and hanging curtain airbags.
Is the Copart 360 view enough to judge a car?
It helps, especially for the interior, the roof lining and the rear seats that still photos skip, but it is still a photo. It cannot show the structure, fault codes, engine condition, corrosion in wiring or smell. Use it with the rest of the gallery, the VIN history and, for a valuable lot, an independent inspection.